
Storefront glass installation looks quick from the sidewalk. One day the opening is empty, and a day or two later there is a finished storefront. But that short install day rests on weeks of careful work behind the scenes. Measurements, drawings, approvals, ordering, site prep, and inspections all have to line up. If anyone rushes a step, the whole project can slip. This guide walks through each stage, from the opening walk-through to the inspector’s signature.
Owners, tenants, general contractors, and designers can use it to understand the process and keep their project on track.
Stage 1: The Initial Site Visit
Every project starts with a visit. The glazier looks at the opening, the surrounding wall, and the site access. They ask about the business, traffic, security, and design goals. In addition, they check for existing problems, such as an out-of-level slab or a damaged header. This first look shapes the whole plan for storefront glass installation.
Stage 2: Field Measurements for Storefront Glass Installation
Accurate measurements are the foundation of the job. Drawings show intended sizes, but real openings often differ. So the glazier measures width and height at several points. They check whether the opening is square and the floor is level. They also note where anchors can go. Even a small error can mean glass that does not fit, so this step is critical.
When to Measure
Timing matters. In a new build-out, the glazier should measure after framing and sheathing are complete, but before finishes go in. Measuring too early can miss changes. Measuring too late can delay ordering. In a replacement project, the glazier usually measures the existing opening right away.
Stage 3: Design and System Selection
Next, the team chooses the system. Key choices include frame depth, finish, glass type, door style, and hardware. In addition, the glazier checks code needs, such as safety glass, energy performance, and accessibility. If the landlord has design rules, those shape the choices too. The goal is a storefront that looks right, performs well, and meets every requirement.
Stage 4: Shop Drawings
Shop drawings turn the design into exact plans. They show every frame member, glass size, anchor, and door. The architect and general contractor review them. Sometimes the landlord does too. The glazier answers comments, and the team approves the drawings. Only then does ordering begin. This review step catches mistakes before they become expensive.
Stage 5: Ordering Materials
Factories build storefront parts to order. First, they cut and finish the frames. Next, glass plants build insulated units to size. Finally, suppliers assemble doors and hardware. Lead times vary with glass type, finish, and supplier workload. So order as soon as drawings are approved. Then track delivery dates closely.
Stage 6: Preparing the Opening
While materials are on the way, the site gets ready. The opening must be the right size, square, and solid. Any steel or wood framing must be complete. Any wiring for power operators or badge readers needs to be in place too. In addition, the floor at the threshold should be at its final height. A ready opening makes storefront glass installation go smoothly.
Stage 7: Framing in Storefront Glass Installation
On install day, the crew starts with the frames. They set the sill, jambs, and head, then add mullions. The installer checks each piece with a level and square. After that, anchors and shims lock the frames to the building. Shims and fasteners keep everything tight. Good frame work is the key to a storefront that lasts.
Stage 8: Setting Glass During Storefront Glass Installation
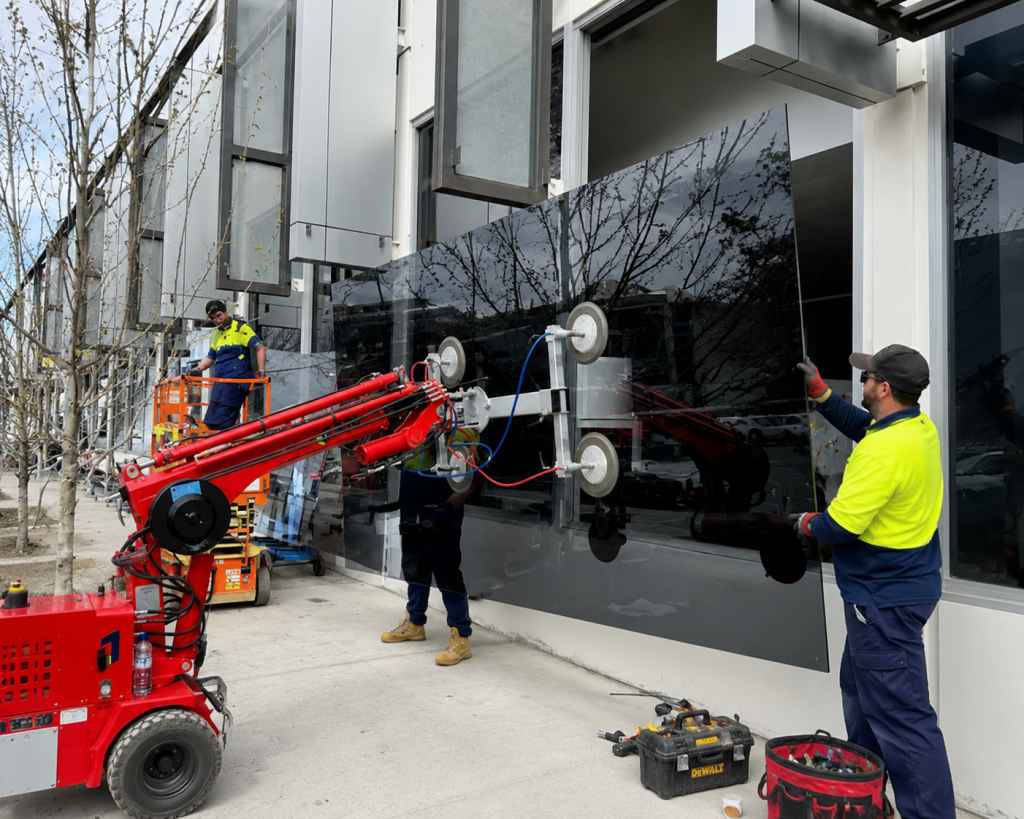
With frames in place, the crew sets the glass. Large panes may need vacuum lifters or several people. Glass sits on setting blocks to keep it off the frame bottom. Gaskets or glazing tape hold it in place. In addition, the crew checks that safety glass is in the right spots.
Stage 9: Hanging Doors and Hardware
Next, the crew hangs the entry doors. They install hinges or pivots, closers, locks, and pulls. Then they adjust each door so it swings smoothly, closes fully, and latches every time. For automatic doors, a certified technician sets up sensors and safety features.
Stage 10: Sealing the Storefront Glass Installation
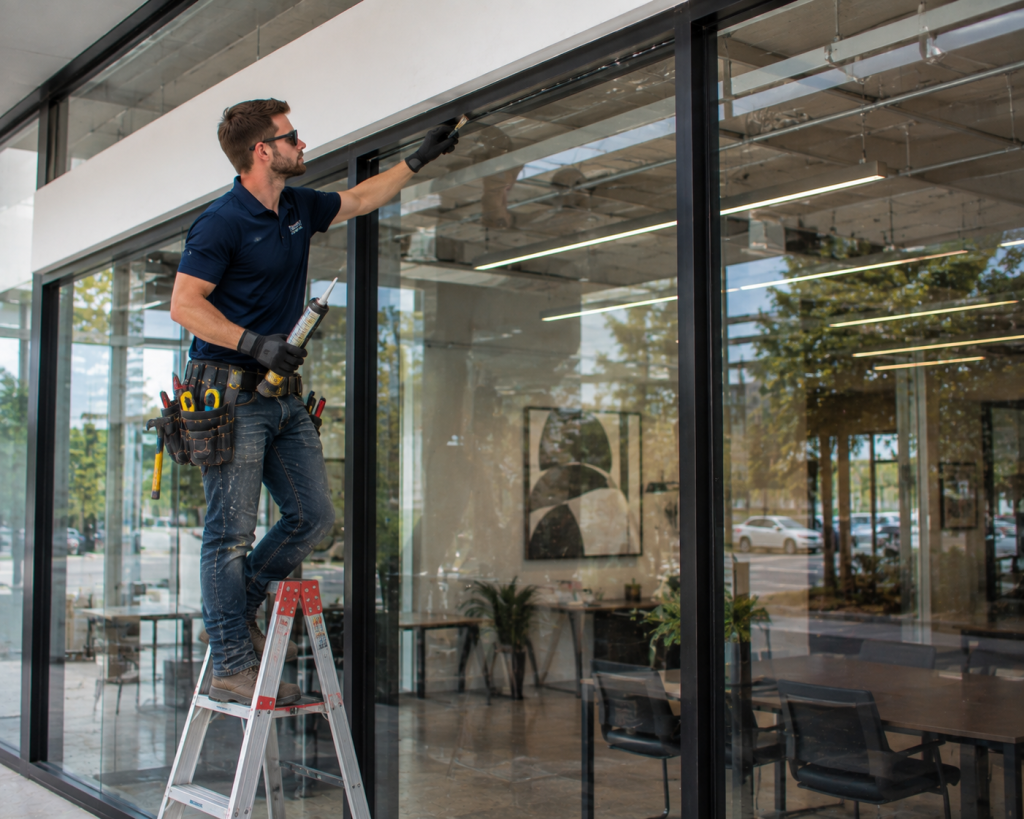
Sealing protects the storefront from water and air. The crew applies sealant around the perimeter and at key joints. They also check weep holes so water can drain. In some cases, they test with a hose to confirm there are no leaks. This step is essential for long-term performance.
Stage 11: Cleaning and Punch List
After installation, the crew cleans the glass and removes labels and debris. Then the owner or contractor walks the storefront. Any issues, such as scratches, gaps, or door adjustments, go on a punch list. The glazier fixes these items before final sign-off.
Stage 12: Final Inspection
Most storefront glass installation projects need a building inspection. The inspector checks safety glass labels, door hardware, exits, and accessibility. In some cases, energy compliance is reviewed too. Once the inspection passes, the storefront is officially complete. The International Code Council develops the model codes many cities use for these inspections.
Storefront Glass Installation in Occupied Centers
Many storefronts go into busy shopping centers. Neighbors stay open while the work happens. So the crew fences off its work zone and keeps the walkway open for shoppers. In addition, the landlord may limit noisy work or deliveries to certain hours. Storefront glass installation in an occupied center takes extra planning, but it keeps everyone happy.
Who Does What
Clear roles prevent confusion. The glazier measures, draws, orders, and installs the storefront. Meanwhile, the general contractor prepares the opening and coordinates other trades. In turn, the architect reviews drawings. The landlord approves the design. Finally, the building inspector signs off. When each party knows its job, the project moves faster.
Storefront Glass Installation Timeline
Every project is different. Still, a typical timeline looks like this:
- Site visit and measurements: a few days
- Design and shop drawings: one to three weeks
- Material lead time: several weeks
- Installation: one to three days for most storefronts
- Punch list and inspection: a few days
Tips for a Smooth Storefront Glass Installation
A few habits help. First, involve the glazier early in design. Next, approve shop drawings quickly. Then keep the opening ready on time. Also, protect new glass from other trades with film or boards. Finally, schedule inspections as soon as work is complete.
Common Mistakes to Avoid
- Ordering from drawings without field measurements
- Measuring before framing is complete
- Leaving the threshold at the wrong height
- Skipping a water test on exposed storefronts
- Letting other trades damage the new glass
FAQ on Storefront Glass Installation
How long does storefront glass installation take on site?
Most storefronts install in one to three days once materials arrive. Larger or more complex fronts may take a week.
Why are field measurements so important?
Real openings often differ from drawings, and glass is made to exact sizes.
Does a new storefront need an inspection?
Usually, yes. Most jurisdictions inspect new storefront installations before the space can open.
Plan Your Installation
Careful steps lead to a storefront that lasts. See our storefront installation services, or request a site visit today.